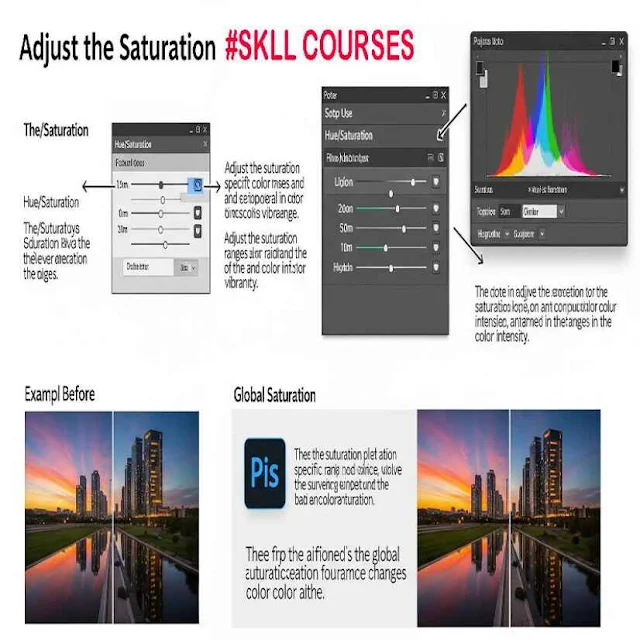
Introduction to Image Saturation
Saturation refers to the intensity or purity of colors in an image. Highly saturated colors are vivid and bold, while low-saturation colors are muted or closer to grayscale.
What is the Sponge Tool?
The Sponge Tool in Adobe Photoshop is a brush-based tool used to increase (saturate) or decrease (desaturate) the color intensity in specific parts of an image.
Where to Find the Sponge Tool
You can find the Sponge Tool in the toolbar, grouped with the Dodge and Burn tools.
Shortcut: Press "O" and cycle through until the Sponge Tool appears.
How the Sponge Tool Works
The tool works like a brush. You "paint" over areas of your image, and depending on the mode selected—Saturate or Desaturate—Photoshop will increase or reduce the color saturation.
Modes of the Sponge Tool: Saturate vs. Desaturate
Saturate: Intensifies the color where you paint.
Desaturate: Reduces the color, turning areas grayscale if used strongly.
Why Adjust Saturation?
- Saturation adjustments are often used for:
- Enhancing mood (vivid sunsets, lush green fields)
- Creating dramatic black-and-white areas
- Focusing viewer attention
- Creating artistic effects
Difference Between Sponge Tool and Hue/Saturation Adjustment
| Feature | Sponge Tool | Hue/Saturation Adjustment |
|---|---|---|
| Local/Global | Local (brush-based) | Global (entire image or selected area) |
| Real-time brush control | Yes | No |
| Layer-based | No | Yes (when using adjustment layers) |
Understanding Saturation Levels
- 0% Saturation = grayscale
- 100% Saturation = full color intensity
- The Sponge Tool affects saturation gradually depending on your brush strength (Flow) and how long you paint over an area.
Step-by-Step: Using the Sponge Tool to Saturate Colors
- Example: Enhancing a flower photo
- Open your image in Photoshop.
- Select the Sponge Tool (Shortcut: O).
- In the Options bar, set Mode to Saturate.
- Set Flow to around 20–30% for subtle changes.
- Choose a soft round brush.
- Begin painting over the flower petals.
- Watch the colors become more vibrant.
Step-by-Step: Using the Sponge Tool to Desaturate Colors
- Example: Creating a muted background
- Open your image.
- Select the Sponge Tool.
- Set Mode to Desaturate.
- Adjust the brush size and Flow.
- Paint over the background area.
- The background color will fade, emphasizing the subject.
Example 1: Boosting Color in a Landscape
- Use the Saturate mode on:
- Sky: to deepen the blue
- Trees: to enhance the green
- Flowers: to pop out the red or yellow
- Tip: Avoid oversaturation—it can look unnatural.
Example 2: Muting Colors in a Portrait
- Use the Desaturate mode to:
- Tone down red skin areas
- Soften bright clothing
- Add a cinematic mood to the image
Controlling the Flow and Brush Size
- Flow controls how fast the saturation is applied.
- Brush Size affects how large the affected area is.
- Use a low flow (10–30%) for subtle, realistic edits.
Targeted Saturation vs. Global Saturation
- Sponge Tool = Targeted, specific areas
- Adjustments = Affects the entire image or selected parts
- Use the Sponge Tool when you need precision.
Tips for Subtle Adjustments
- Use a soft brush for blending
- Avoid going over the same spot repeatedly
- Zoom in to work on details
Undo and History States
- Made a mistake?
- Press Ctrl+Z (Cmd+Z) to undo the last step
- Use the History panel to revert to a previous state
Using Sponge Tool on Layer Masks
- Though you can’t directly use the Sponge Tool on a mask, you can:
- Duplicate the layer
- Use the Sponge Tool
- Add a mask to blend affected and original areas
Combining Sponge Tool with Dodge and Burn
- Dodge Tool: Lightens areas
- Burn Tool: Darkens areas
- Use together with Sponge Tool to enhance contrast and mood
When Not to Use the Sponge Tool
- On already heavily edited images
- For full-image saturation (use Hue/Saturation adjustment instead)
- When non-destructive editing is a must (it works directly on the layer)
Best Practices for Professional Edits
- Use Sponge Tool on duplicate layers
- Use layer masks for better blending
- Keep saturation realistic
- Always zoom in to avoid over-editing
Common Mistakes and How to Avoid Them
| Mistake | Fix |
|---|---|
| Over-saturating | Use low flow, zoom in |
| Editing original layer | Duplicate the layer first |
| Ignoring color balance | Use Color Balance/Levels as needed |
Keyboard Shortcuts for Faster Workflow
- = Cycle through Dodge, Burn, and Sponge
- [ and ] = Decrease/Increase brush size
- Shift+O = Cycle through tool modes
- Ctrl+Z = Undo last step
Sponge Tool vs. Vibrance Adjustment
| Feature | Sponge Tool | Vibrance Adjustment |
|---|---|---|
| Local edit | Yes | No |
| Protects skin tones | No | Yes |
| Precision | High | Low to Medium |
Conclusion
The Sponge Tool is a simple yet powerful way to fine-tune color saturation in specific parts of your images. With a few strokes, you can dramatically enhance or soften the color palette, guiding the viewer’s eye and improving your image's overall impact.
Frequently Asked Questions (FAQ)
Q1: Can I use the Sponge Tool on RAW images?
A: Yes, after the image is opened in Photoshop (not in Camera RAW mode).
Q2: Is it a non-destructive tool?
A: No, it edits the image directly. Use on duplicates or with masks.
Q3: Why is the Sponge Tool grayed out?
A: It may be unavailable on certain types of layers (like adjustment layers). Make sure you're editing a pixel-based layer.
Also Read:


.jpg)

0 Comments